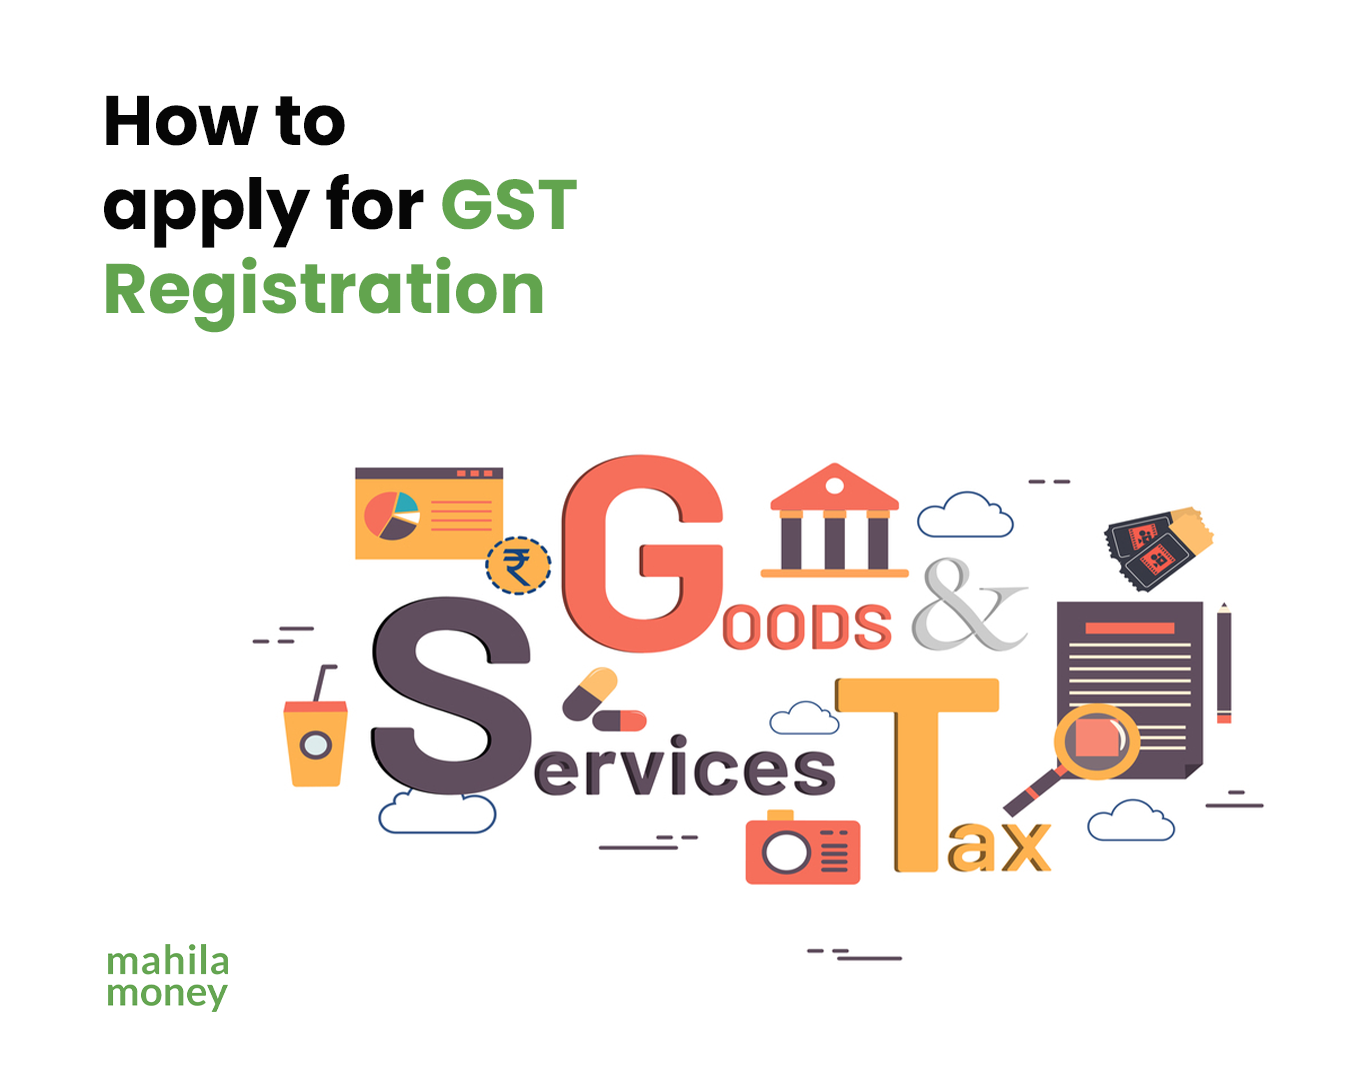
Wondering how to apply for GST registration or how to get a GST number for your new business? If you’ve recently started a business and are figuring out how to register for GST online, this guide is for you!
Getting a GST certificate is an essential step in making your business tax-compliant and legally recognized. Whether you’re a small business owner or a woman entrepreneur, this step-by-step guide will simplify the process and help you navigate GST registration.
Apply For a Business Loan
What Is GST and Why Does It Matter?
GST (Goods and Services Tax) is a single tax that replaced India’s multiple state and central taxes. GST is mandatory for all eCommerce sellers, irrespective of the annual turnover. Additionally, you must register for GST if your business earns more than ₹20 lakh a year (or ₹10 lakh in some states). Once registered, you get a unique GSTIN (GST Identification Number) that helps you:
- Collect and pay taxes.
- Follow government tax rules easily.
- Claim tax benefits on business expenses (called Input Tax Credit).
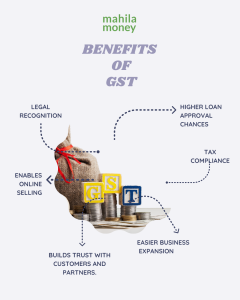
Benefits of GST Registration
Who Needs to Register for GST?
- All e-commerce sellers.
- Businesses with a turnover exceeding the threshold limit.
- Service providers like freelancers and consultants.
- Voluntary registration for businesses aiming to boost credibility.
How to Apply for GST Registration Online
Step 1: Gather Required Documents
Before starting the process, ensure you have the following documents ready:
- Business PAN Card
- Aadhaar Card of the business owner.
- Proof of Business Address: Rental agreement, utility bill, or ownership document.
- Bank Account Details: Cancelled cheque or bank statement.
- Photograph: Passport-sized photo of the proprietor or partners.
Step 2: Visit the GST Portal
- Go to the GST official website.
- Click on Services → Registration → New Registration.
Step 3: Fill Out the Application Form
- Select ‘New Registration’: Enter your business type, state, PAN, email, and mobile number.
- Verify Details: You’ll receive an OTP on your mobile and email for verification.
- TRN Generation: A Temporary Reference Number (TRN) is generated after verification.
Step 4: Complete the Application using your 15-digit TRN Number
- Use the TRN to log in and complete your application within 15-days.
- Fill in details like business name, business location, and bank account information.
- Upload required documents as per instructions.
Step 5: Submit and Verify
- After filling in all details, submit the application using Digital Signature (DSC), e-Sign, or Electronic Verification Code (EVC).
- A successful submission generates an Application Reference Number (ARN) for tracking your application status.
Step 6: Wait for Approval
- The GST officer will review your application and may request additional documents if needed.
- Once approved, you’ll receive your GSTIN and GST Certificate via email.
Common FAQs About GST Registration
#1. How long does GST registration take?
The process typically takes 30 working days, provided all documents are in order.
#2. Is GST registration free?
Yes, there is no fee for GST registration. However, if you seek professional assistance, service charges may apply.
#3. Do home-based businesses need GST?
Yes, if your turnover exceeds the threshold or you sell online, GST registration is mandatory.
Tips for Hassle-Free GST Registration
- For Rented Premises: If you’re applying for GST registration using a rented space, ensure that the landlord’s name and address on the electricity bill match those on the notarized rent agreement and No Objection Certificate (NOC).
- Rent Agreement Requirements: The rent agreement must clearly mention “For Commercial Purpose”, even if the property is residential. Additionally, it should not be more than two months old at the time of application.
- Landowner’s KYC: Choose a rental space where the landlord is willing to share their KYC details, as these may be required for verification.
- Witness Details: Ensure that the witnesses in your rent agreement have their Aadhaar and PAN card details available for submission.
- Name Consistency: Your name should be the same on both your Aadhaar and PAN card. If there are discrepancies, get them corrected before applying for GST.
- Self-Attestation: All submitted documents must be self-attested before uploading.
Additional Tips
- Double-check all details: Any incorrect information can lead to delays or rejection.
- Keep digital copies ready: Having scanned copies of all documents will make the process smoother.
- Track your application status: Use the ARN (Application Reference Number) to monitor progress.
- Seek professional help if needed: If the process feels complex, consulting a GST expert can save time and effort.
Conclusion
Applying for GST registration may seem overwhelming, but with the right preparation, it’s a simple and essential step for your business. Having a GSTIN (Goods and Services Tax Identification Number) ensures tax compliance, boosts credibility, and allows you to claim input tax credit. Whether you’re wondering how to apply for GST registration, how to get a GST number for a new business, or how to apply for a GST certificate, following the correct steps makes the process easy.
Take the next step in growing your business—register for GST today and unlock new opportunities!
Read more:
Licenses Required for Homemade Cosmetics in India: A Complete Guide for Entrepreneurs
How to Separate Personal and Business Finances: 10 Actionable Tips
What Licenses Do You Need to Run a Cloud Kitchen in India? A Guide for Aspiring Foodpreneurs

If you are a woman entrepreneur who wants to take your business to new heights and is in need of working capital and entrepreneurship resources, come speak to us on Mahila Money. For more such #JiyoApneDumPe live conversations, download the Mahila Money App on Play Store or visit us on www.mahila.money


Keep on writing, great job!